
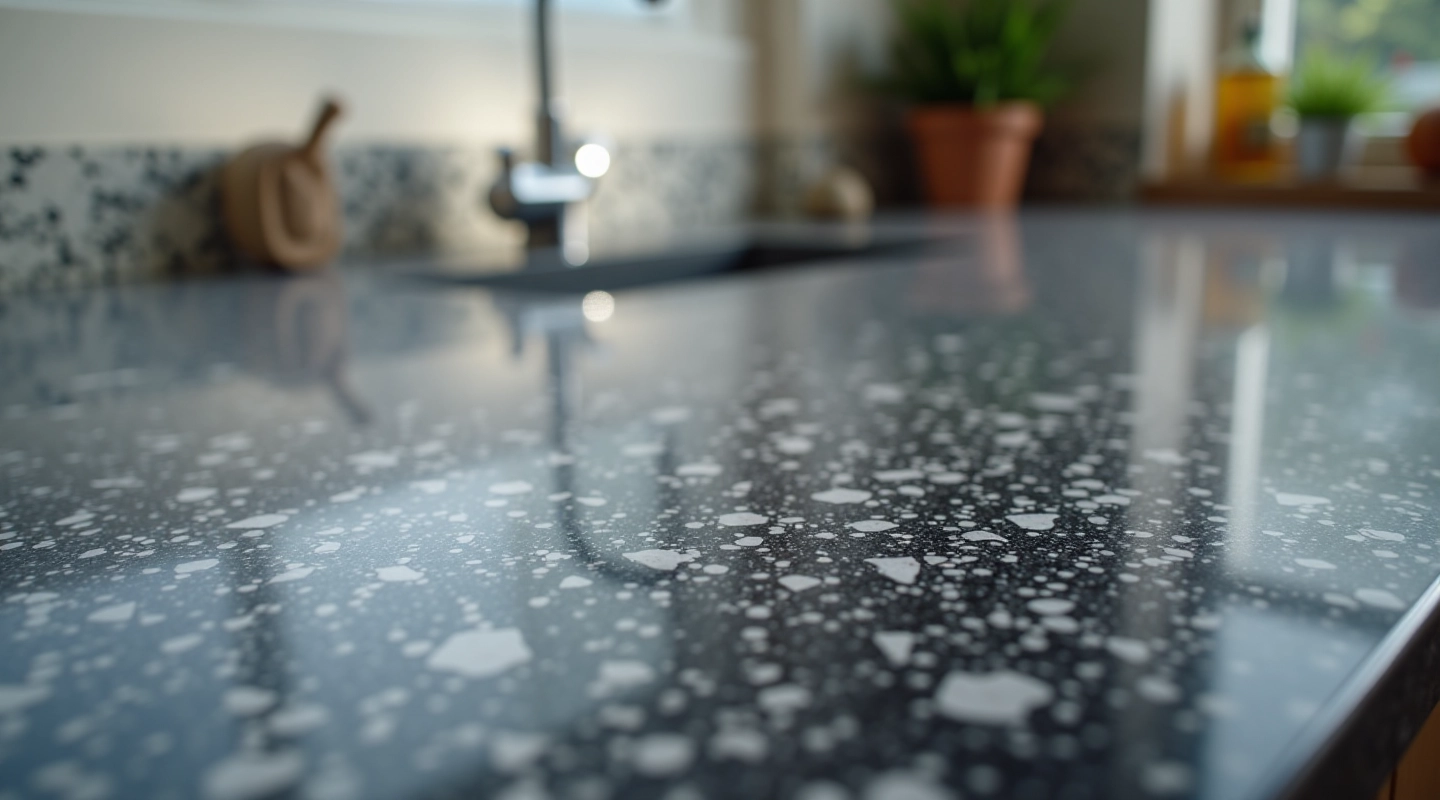
Granite vs Laminate: Which Lasts Longer
We've compared durability, maintenance, and real costs of both materials. Here's what actually matters.

From measuring to choosing materials to finding the right contractor. This checklist covers everything you'll need before you start your kitchen renovation.

Author
Editorial Team
Written by the jarnburg editorial team, focused on practical, honest guidance for kitchen countertop renovation.
You're thinking about new countertops. Maybe your current ones are worn out, stained, or just don't match your style anymore. That's where we come in. We've seen plenty of people jump into countertop replacement without proper planning — and it usually costs them time, money, and frustration.
This checklist walks you through the entire process. You'll know exactly what to measure, which questions to ask contractors, and how to make the right material choice for your kitchen.
Get accurate measurements
Choose your material wisely
Find qualified contractors
Plan your budget
This is where most projects go wrong. Inaccurate measurements mean costly mistakes — either materials don't fit, or you end up ordering too much.
Measure the length and width of each countertop section in multiple spots (they're rarely perfectly straight)
Record the depth (standard is 24-25 inches, but check yours)
Note any cutouts for the sink, cooktop, or island edges
Measure the backsplash height if you're replacing that too
Take photos of the current layout and any problem areas
Pro tip: Use a steel measuring tape, not a fabric one. Write everything down on paper and double-check before you call contractors.

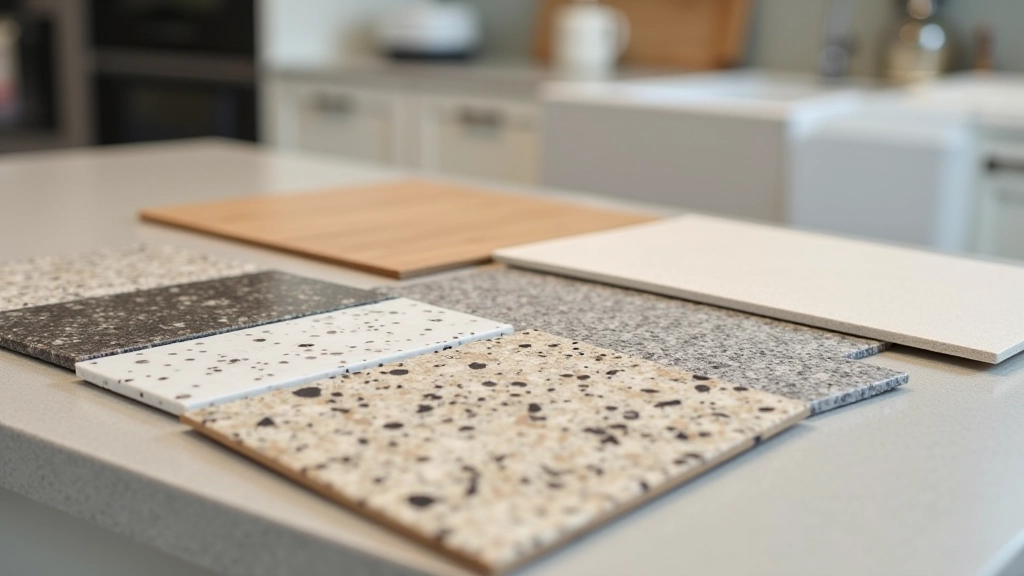
Material choice affects everything — durability, maintenance, appearance, and cost. You've got solid options. Let's break down what matters.
Budget-friendly, easy to maintain, decent variety. Won't last as long as stone, though. Good for renters or if you're replacing in a few years.
Natural stone, unique patterns, very durable. Needs sealing and regular maintenance. Beautiful but requires more care than laminate.
Engineered stone, low maintenance, consistent look. More expensive than laminate but easier than granite. Lasts 15-20 years easily.
Think about your lifestyle. Do you cook a lot? Are you worried about stains? How long are you staying in this house? These questions guide your material choice.
A bad contractor can ruin a good project. You're looking for someone experienced, reliable, and clear about what they can deliver.
Ask for references — and actually call them. Ask about timeline, communication, and whether they'd hire this contractor again.
Get written estimates from at least 2-3 contractors. Compare material quality, not just price.
Verify they're licensed and insured. Don't skip this step.
Ask about installation timeline — most replacements take 2-7 days depending on complexity.
Confirm they'll handle removal of old countertops and disposal.


Know what you can spend before you start shopping. Countertop costs vary wildly depending on material and square footage.
Material cost: This is where the biggest differences appear. Laminate is most affordable. Granite and quartz cost more.
Installation: Professional installation adds to the total. DIY is an option for laminate, but not recommended for stone.
Removal and disposal: Factor in the cost of hauling away old countertops. Most contractors include this, but confirm.
Backsplash updates: If you're upgrading the backsplash too, add that to your total. This can easily add 20-30% to your project cost.
Build a 10-15% contingency into your budget for unexpected issues. Old countertops sometimes hide damage that becomes visible during removal.
A typical countertop replacement doesn't take long, but there's preparation work involved. Here's a realistic timeline from start to finish.
Gather measurements, research materials, get quotes from contractors. Don't rush this phase.
Choose your contractor and material. Order the countertops. Delivery timing varies by material.
Your new countertops are made or delivered. This takes 2-4 weeks depending on material.
Removal of old countertops and installation of new ones. Usually 2-5 days depending on complexity.
This guide is informational and based on general countertop replacement practices. Every kitchen is different, and local building codes, contractor expertise, and material availability vary by location. Always consult with qualified, licensed contractors in your area for specific advice tailored to your project. Prices, timelines, and material options mentioned are examples and may not reflect current market conditions or availability in your region.
You've got the checklist. You know what to measure, what questions to ask, and how to find a contractor you can trust. The key is taking your time during the planning phase. A few extra days now saves weeks of frustration later.
Print this checklist, grab your measuring tape, and start taking notes. Your new kitchen countertops are closer than you think.
Continue learning about countertop options and kitchen renovation
We've compared durability, maintenance, and real costs of both materials. Here's what actually matters.

Five mistakes we see people make when installing laminate themselves — and how to prevent them.

Cost, maintenance, and why quartz might be worth the investment. We break down what you're actually getting.