
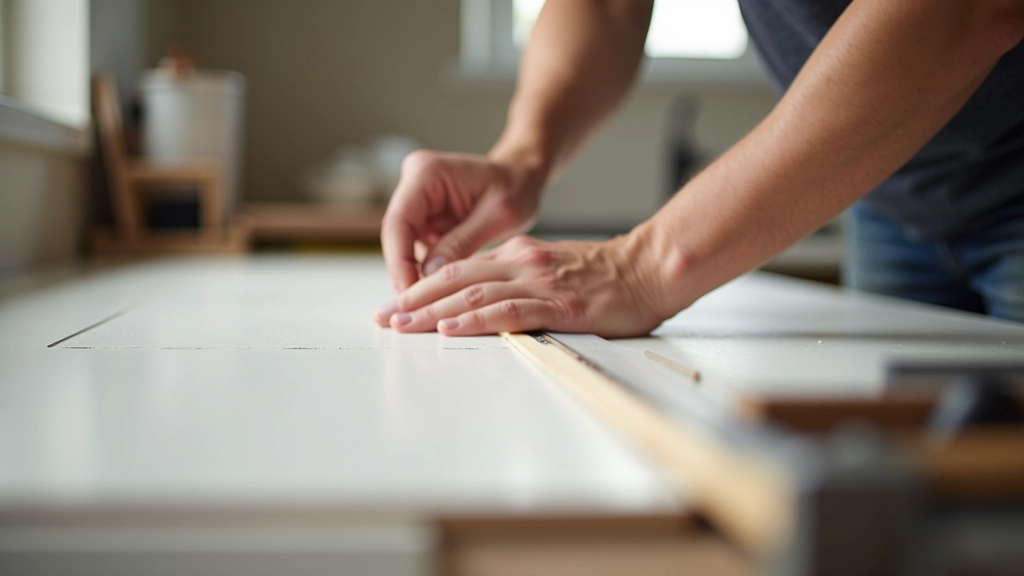

Skipping Proper Surface Preparation
This is the biggest culprit. You'll see laminate failure within months if you don't get the base right. The surface needs to be clean, flat, and stable — not just "close enough."
Before anything else, remove old countertop completely. Don't just slap laminate over old Formica or ceramic. Check the substrate with a straightedge — it should be flat within 1/8 inch over 10 feet. Any humps or dips will telegraph through the laminate and create weak spots where it'll crack or peel.
Fill gaps with epoxy or self-leveling compound. Sand everything smooth. Dust is your enemy here — use a vacuum, then a damp cloth. The adhesive won't grip to dust or debris, and that's when edges start lifting.
Take 2-3 hours for prep work. Sounds boring, but it's the difference between a countertop that lasts 15 years and one that's peeling in 18 months.

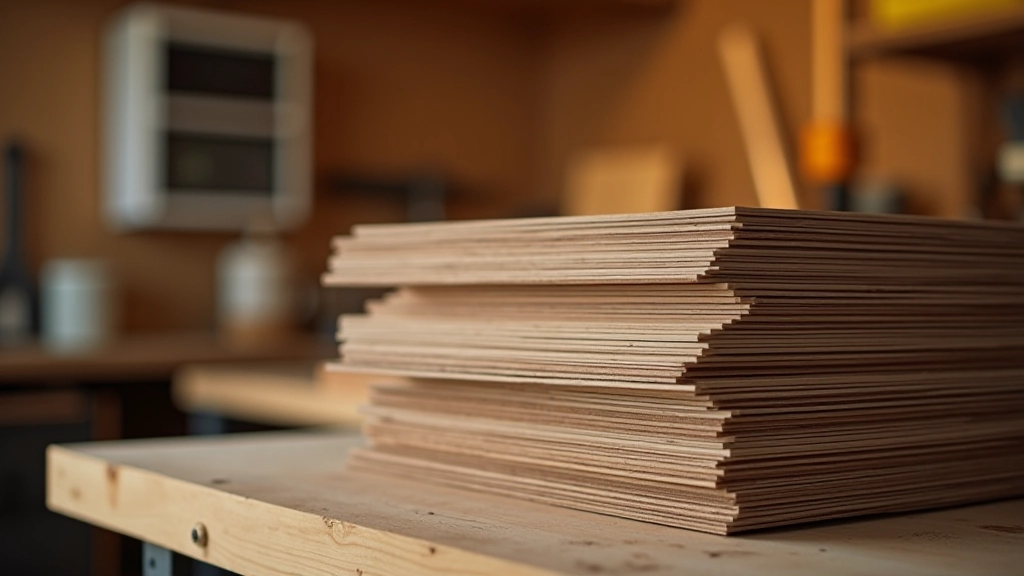
Using Wrong Adhesive or Applying It Incorrectly
Not all contact cement is created equal. Some brands dry too fast. Others don't create a strong enough bond. And application matters just as much as the product itself.
Use a two-part contact adhesive specifically designed for laminate — brands like 3M or Bostik work well. Here's the thing: contact cement bonds instantly. Once the laminate touches the substrate, you're committed. There's no sliding it around to adjust.
Apply adhesive with a notched trowel. This creates consistent ridges that help squeeze out air pockets. You need good coverage — not a thin smear. If you use a brush or roller, you'll get uneven glue lines and weak spots. The notch size matters too. For laminate, you're looking at 1/16 inch notches, applied at a 45-degree angle.
Let the adhesive get tacky first. The instructions will tell you — usually 15-20 minutes depending on temperature and humidity. Don't rush this step. If it's not tacky enough, the bond won't be strong. Too long and it'll be too dry to work with.
Not Accounting for Moisture and Humidity
Laminate moves. It expands when it's humid and contracts when it's dry. Ignore this and you'll get buckling, lifting, and edge curling. We're talking visible waves across your countertop.
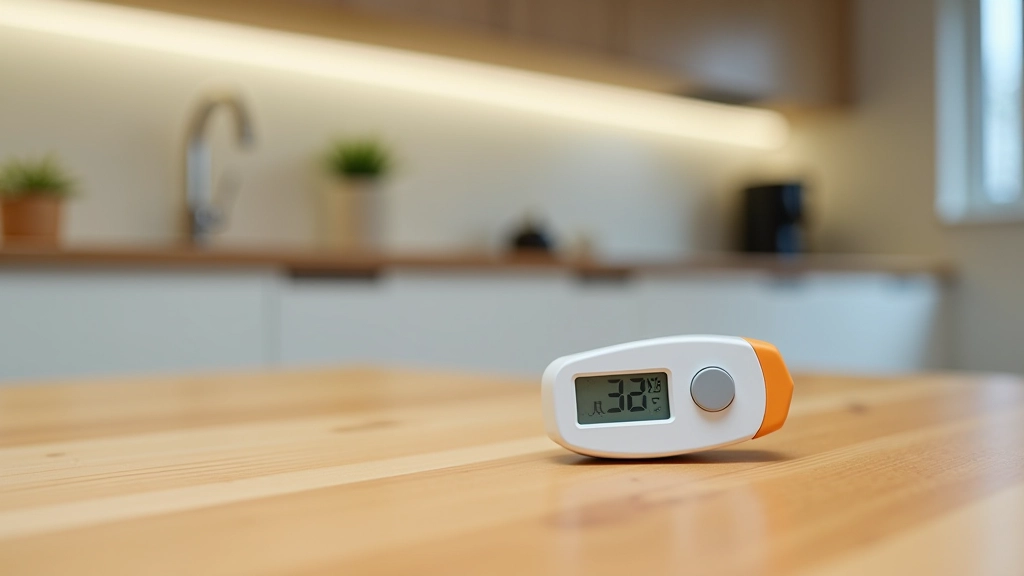
Store laminate sheets in your kitchen for 24-48 hours before installation. This lets them adjust to the humidity in your home. If you bring them straight from a dry warehouse into a humid kitchen, they'll absorb moisture and swell after you've already glued them down.
The substrate matters too. If your countertop base is MDF or particleboard, seal the edges with a water-resistant primer or edge banding. Water from the sink, spills, and even ambient humidity can seep into the substrate, causing it to swell and push the laminate up at the edges. You'll see this first around the sink cutout and backsplash.
Install laminate during stable humidity. Not during the summer when AC is running full blast, and not in winter when your heat is cranked up. Spring or fall, when humidity is more stable, is ideal. If you're in a very dry climate, mist the substrate lightly before gluing — but don't oversaturate it.
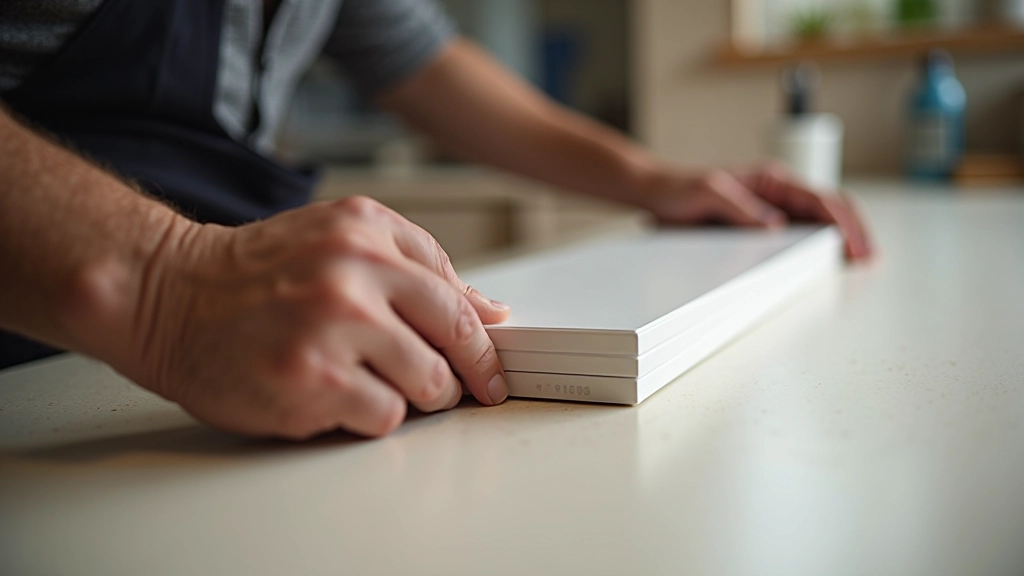
Rushing the Edge and Trim Work
Edges are where laminate gets beat up. Exposed edges absorb water and moisture, they get bumped, and they're the first place to peel. Rushing this step means premature failure.
Edge banding is your friend. Iron-on edge banding works fine for a budget install, but for durability, use solid surface edge trim or matched laminate strips with adhesive. The edges take impact and water exposure that the main surface doesn't.
Sand edges smooth after trimming. Use 120-grit sandpaper, then 180-grit for a finer finish. Rounded edges feel better and last longer than sharp edges. Sharp edges chip easily and that's where failure starts. A 1/4-inch roundover bit on a router works great if you have access to one, but hand sanding with progressively finer paper is fine too.
Seal the edge seams with a clear silicone caulk. Not the paintable kind — use 100% silicone. This creates a water barrier that stops moisture from seeping into the substrate. Apply it thin and smooth with a wet finger. You're not filling a gap; you're creating a protective barrier.
Forgetting to Roll and Clamp Everything
You've glued the laminate down, but the job isn't finished. If you don't compress the bond, you'll get voids, air pockets, and weak spots that'll cause problems down the line.
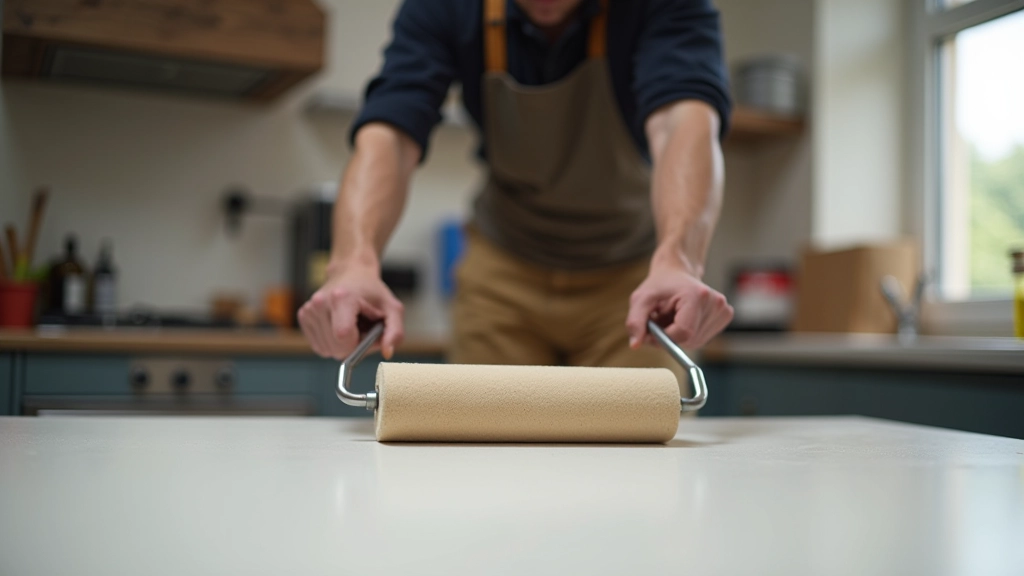
After placing the laminate, use a 75-100 pound floor roller to press it firmly into the adhesive. This squeezes out air and ensures complete contact between the laminate and substrate. Don't skip this — a hand roller isn't enough. You need actual weight and pressure.
Roll in multiple directions: lengthwise, widthwise, and diagonally. Pay extra attention to edges and corners. These areas don't get as much contact and are prone to lifting. Spend at least 5 minutes rolling the entire surface. For large countertops, you might need 10-15 minutes of rolling.
For seams between laminate sheets, clamp them while the adhesive sets. Use cauls — straight boards clamped across the seam — to pull the sheets tight together. The seam should be nearly invisible if it's done right. If there's a visible gap, the seam will collect dirt and eventually water will seep in and cause the laminate to separate.
Getting It Right
DIY laminate installation isn't complicated, but it does require attention to detail. These five mistakes account for about 90% of the failures we see. The good news? They're all preventable. Take your time on surface prep, use the right materials, respect moisture, finish the edges properly, and compress the bond. Do those things and you'll have a countertop that looks great and lasts 15+ years.
Most people can install laminate in a day or two once they understand the process. It's the kind of project that rewards careful work. You'll be proud of the result, and every time you use that countertop you'll know you did it right.